We recommend reading the How to use the DNS Manager for my domain article before continuing with this article
To setup email forwarding via the DNS Manager,
- Log into the Client Dashboard
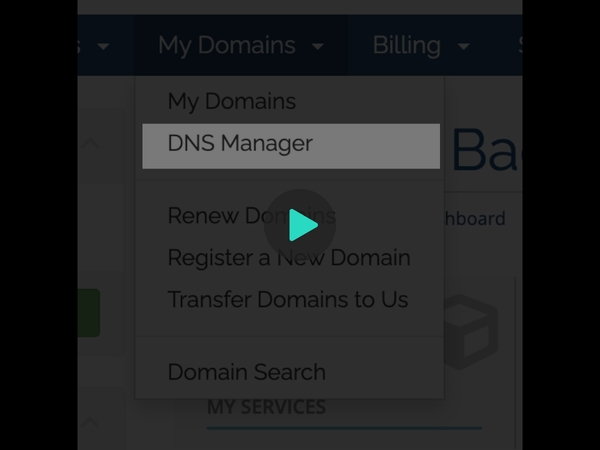
- Click on the My Domains tab and click on DNS Manager
- Select your domain you want to use from the drop down, and click on Modify Domain
- Your are now at the Domain Overview, click on the Email Forwarding tab
- Before you can start setting a email forward, you must add a destination email first. This is the email address the email will be forwarded to. Scroll down to the Email Destination section and fill in an email address that you want. Click on the Plus sign to save that destination
- You will receive a Verification Pin at the destination email you just entered. The Verification Pin is implemented to prevent forwarding abuse. Find the pin in the inbox of the destination and verify it in the Email Destination section. Once verified, that destination email is ready to be used.
- Now, scroll up to the Email Forwarding section, this is where you would set the alias for the domain which you want the emails to be forwarded. For example, if you want to have an forwarding of [email protected], then you would enter myemail in the source column. Click on the Plus sign to create the alias.
- You should see the new alias you just created under the Email Forwarding section, you will now be able to select any verified destination email for the alias. To set the alias to active, simply save it by clicking on the Save (Floppy disk) button